Garuda Mini Experiments
How to Fly!!
Note: Always adhere to safety protocols to avoid any damage to your drone or potential injury.
Roll, Pitch,Yaw and Throttle
- Roll
- Drone tilts left and right which changes the net resultant and moves in left or right direction.
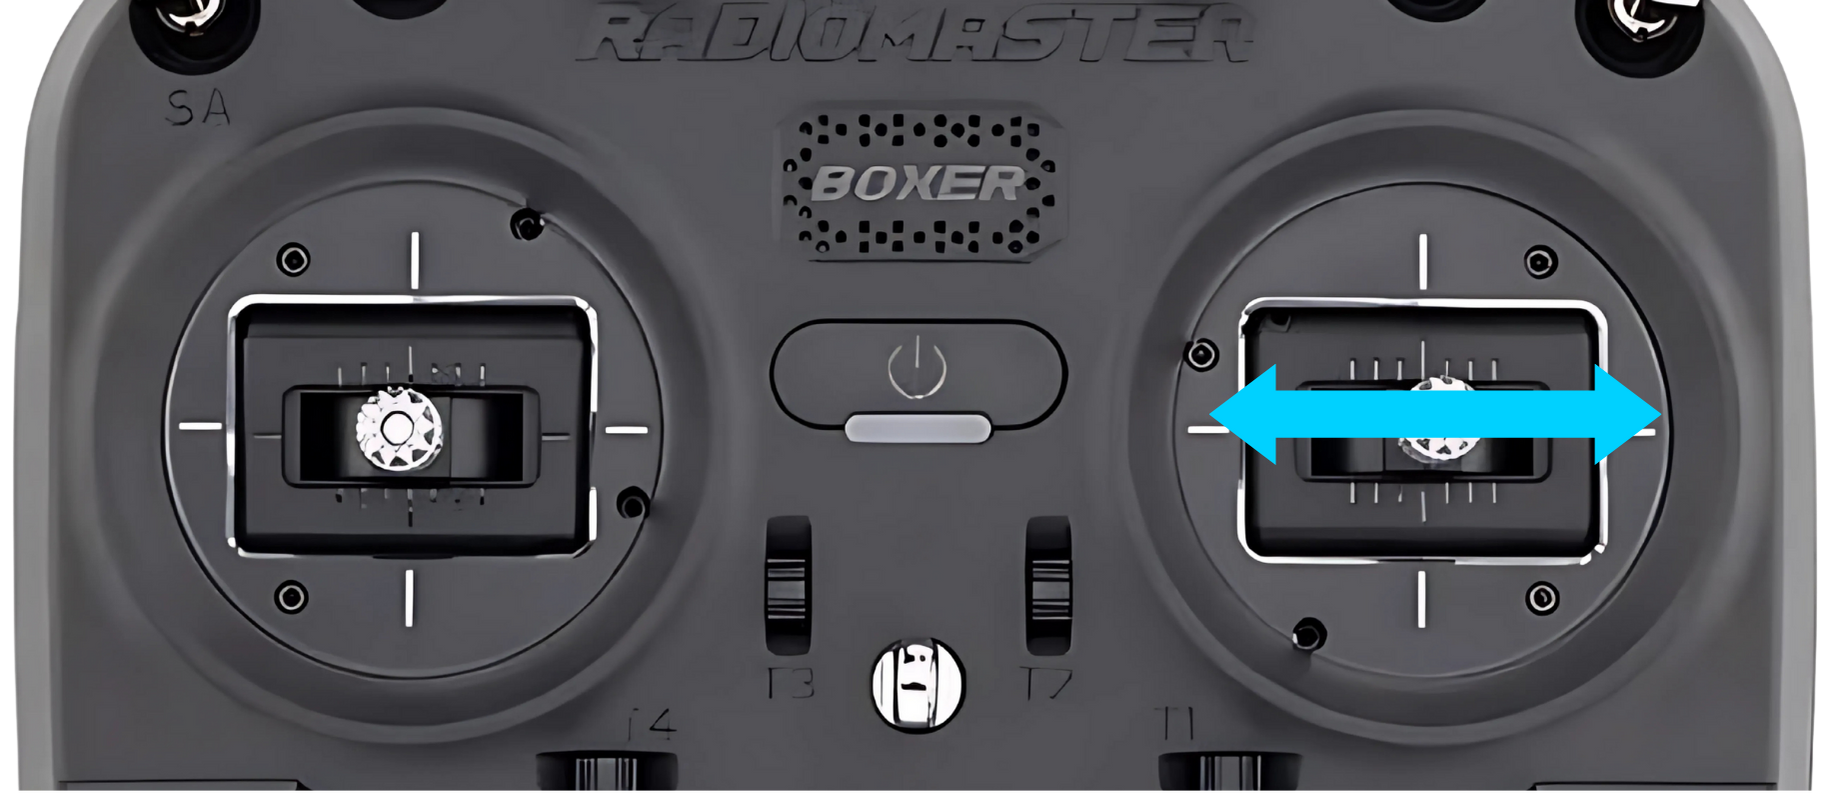
- Image Shows the Right-side roll stick so drone will move to right.
- Pitch
- Drone tilts front and back which changes the net resultant and moves in front or back direction.
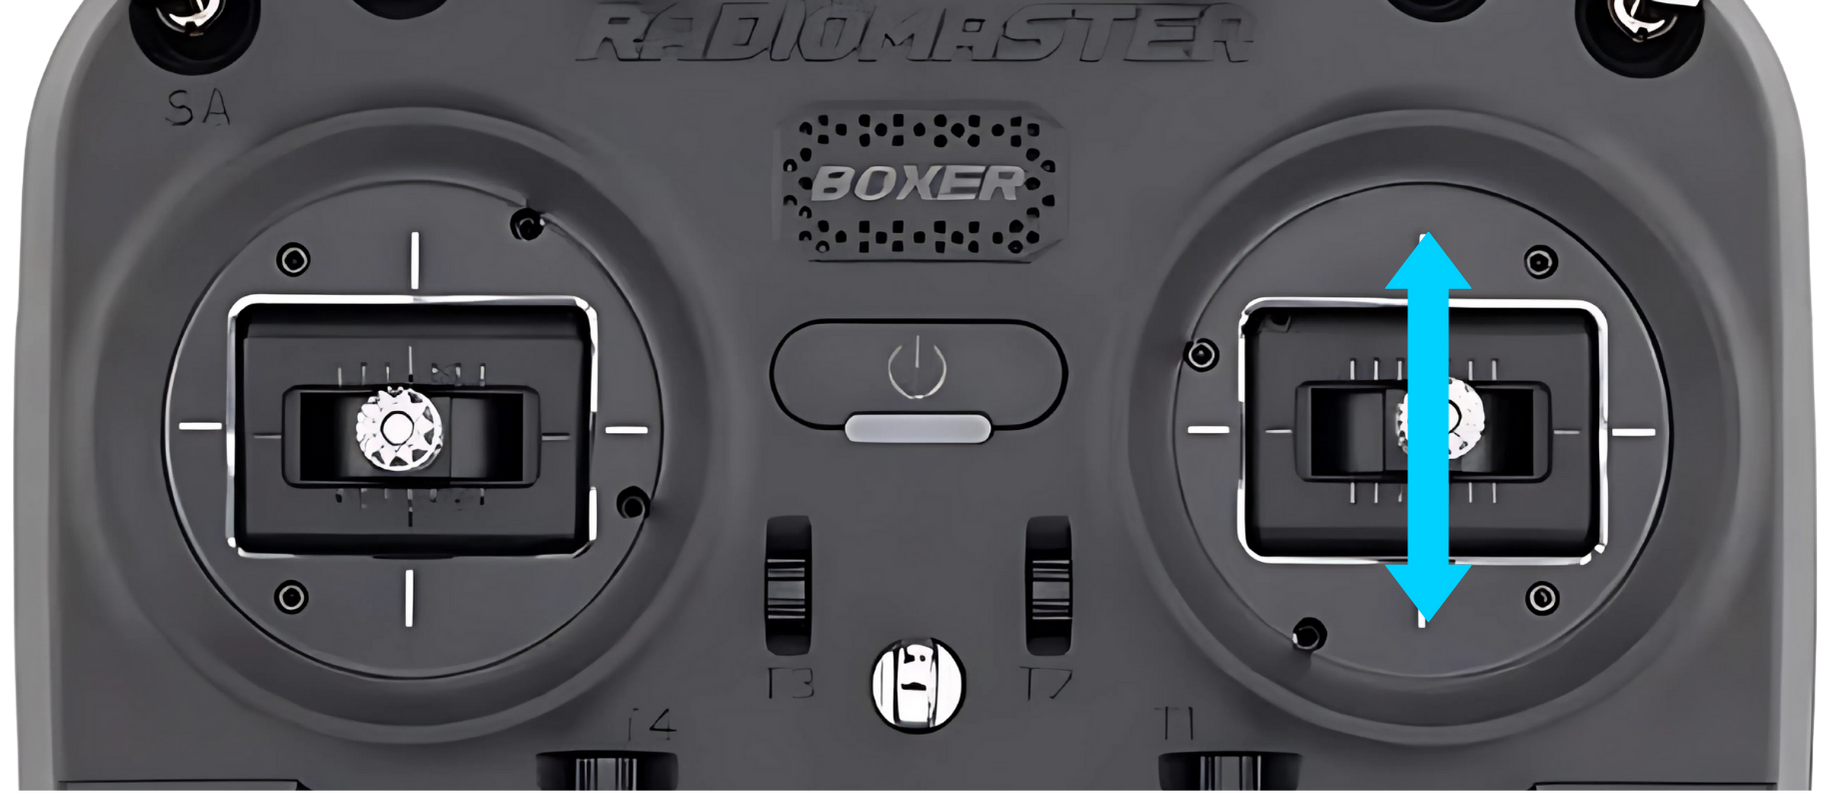
- Image Shows the Right-side pitch stick so drone will move to front.
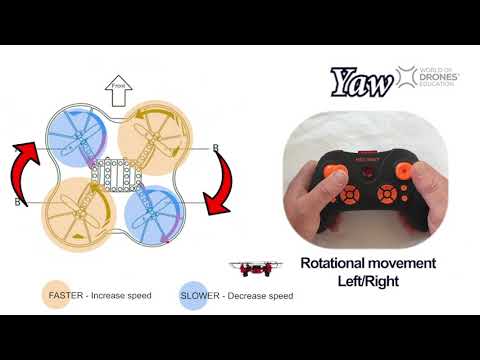
- Yaw
- Drone rotates in circular motion in z axis in clockwise or anticlockwise direction.
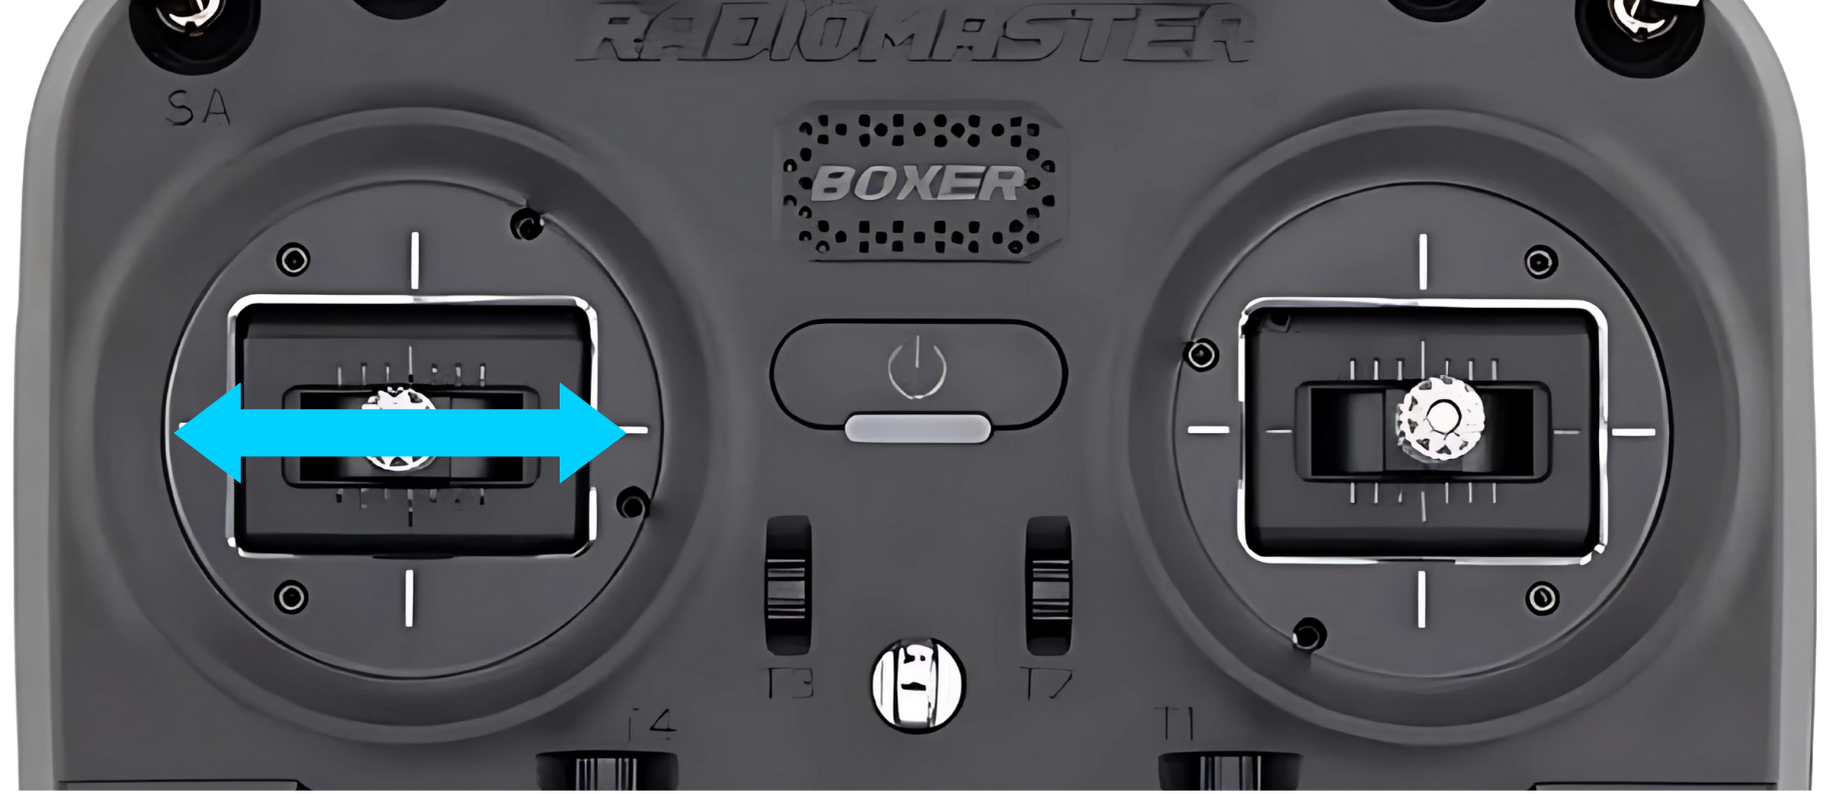
- Image Shows the Left-side Yaw stick so drone will rotate in clockwise direction from top view.
- Throttle
Drone moves in up and down direction.
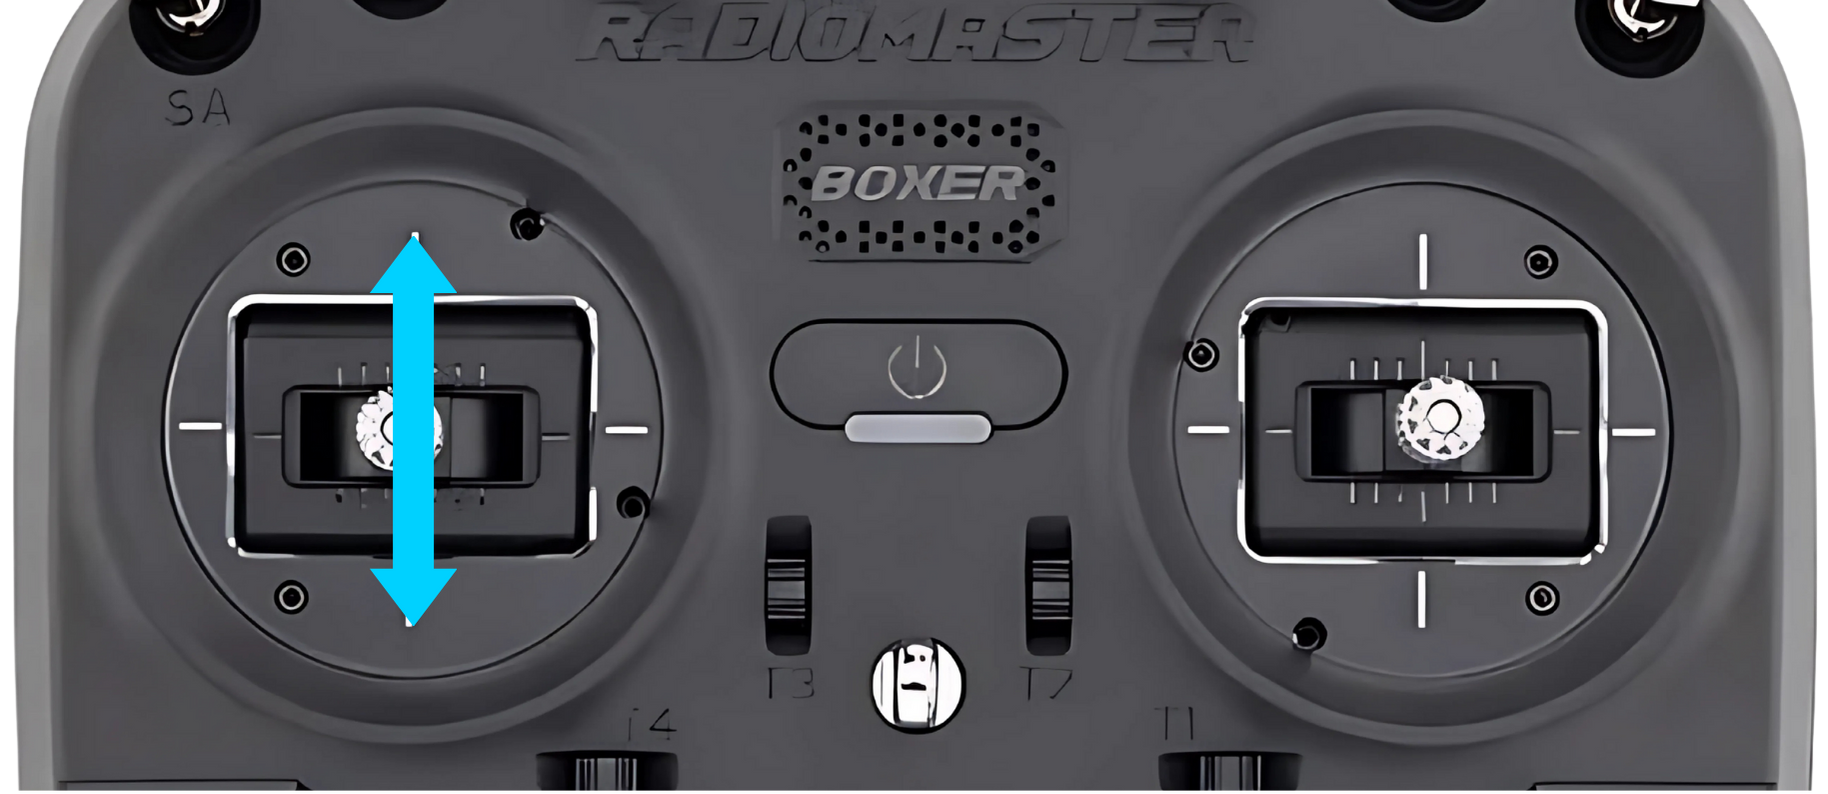
Image Shows the Left-side Throttle stick so drone will increase its height.
Youtube video to understand the Roll, Pitch, Yaw and Throttle concept
Start RadioMaster
Power on
- Press the PowerButton at the Center of your RadioMaster Boxer
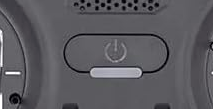
- Long Press Until The Light Turns up blue and you receive a boot completed sound.
Select Model
- Then Press the
MDli.e Model button on bottom right side. All the models will be lised on the screen. 
- Using the Horizontal Cusor select (Scroll Right or Left) the option
GARUDAMINIoption and press the cursor at the center you should see the Dialog box havingSelect modeloption. - If you see the
Backup modeloption that means that option is already selected. - Press the
RTNbutton (on bottom Left) to go back until you see theGARUDAMINImodel name and Battery Voltage on the screen
Drone Setup
- Keep the Drone on ground properly, you should not put drone tilted, upside-Down it can cause damage to drone or someone.
- Ensure the battery is completly charged.
- Insert in the
Batterydrone battery holder. - Wait Until the drone is completly ready to fly.
- Ensure that the propellers are free to move and battery wires is away from it.
- Ensure the
Throttlestick is down ,and roll/pitch stick is at center. - Ensure the
Arming/DisarmingButtonSAis up inDisarmstate. - Ensure the
FlightModesbuttonSBis in topStabilizemode. (Recommended for First Flight Ensure you have good practice in Liftoff Simulator, refer Experiments Page.) - When ready you can see the
cellular towertype image on your radiomaster screen, it means drone is communicating with the transmitter.
AltHold Mode
- Prequisite: Learn to fly drone in some simulator. Practice around 40-50 hours. You can use Liftoff Simulator.
- The PosHold flight mode is similar to Loiter in that the vehicle maintains a constant location, heading, and altitude but is generally more popular because the pilot stick inputs directly control the vehicle’s lean angle providing a more “natural” feel.
- When switched on, PosHold mode will automatically attempts to maintain the current location, heading and altitude.
- The pilot can control the copter’s location horizontally and vertically with the control sticks.
- This mode is simpler for Garuda Mini model than stability.
Stabilize Mode
- Stabilize mode allows you to fly your vehicle manually, but self-levels the roll and pitch axis.
- Pilot’s roll and pitch input control the lean angle of the copter. When the pilot releases the roll and pitch sticks the vehicle automatically levels itself.
- Pilot will need to regularly input roll and pitch commands to keep the vehicle in place as it is pushed around by the wind.
- Pilot’s yaw input controls the rate of change of the heading. When the pilot releases the yaw stick the vehicle will maintain its current heading.
- Pilot’s throttle input controls the average motor speed meaning that constant adjustment of the throttle is required to maintain altitude. If the pilot puts the throttle completely down the motors will go to their minimum rate (MOT_SPIN_ARMED) and if the vehicle is flying it will lose attitude control and tumble. However, this behavior can be changed by enabling AirMode.
PosHold Mode
Note: Fly the drone in PosHold when SAT count on Telementry screen is more that 8.
- The PosHold flight mode is similar to Loiter in that the vehicle maintains a constant location, heading, and altitude but is generally more popular because the pilot stick inputs directly control the vehicle’s lean angle providing a more “natural” feel.
- When switched on, PosHold mode will automatically attempts to maintain the current location, heading and altitude.
- The pilot can control the copter’s location horizontally and vertically with the control sticks.
Loiter Mode
Note: Fly the drone in Loiter when SAT count on Telemetry screen is more than 8.
The Loiter flight mode allows the vehicle to maintain a constant position and altitude, while the pilot retains control over the heading. This mode is often used for hovering and can be useful when you want to keep the drone in a fixed position while making small adjustments. When activated, Loiter mode attempts to automatically hold the vehicle’s position and altitude without pilot input, but the heading will still be controlled by the pilot. The pilot can use the control sticks to adjust the drone's position horizontally and maintain a stable altitude.